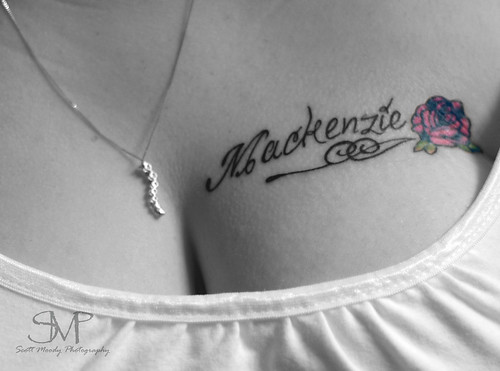
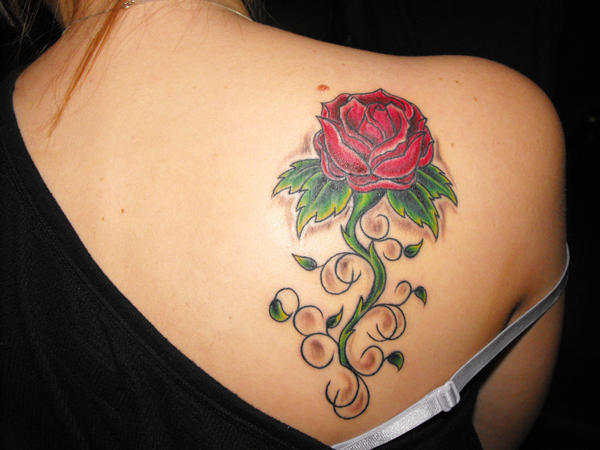
This tutorial will show you how you can insert a tattoo design to a photograph with only couple of simple steps in photoshop. So, here’s my before and after photo:

Step 1) Let’s working on the tattoo image first. Select your magic wand tool from your tool pallete, then select the white background on your tattoo design. Make sure you have selected every white on the image. After that, go to select>inverse (shift+ctrl+i)

Step 2) Drag your tattoo design to your portrait. Or you can copy it (ctrl+c) then paste it (ctrl+v) in your portrait.

Step 3) Now, you need to resize your tattoo by pressing ctrl+t so that it will fit nicely on the lady’s back.

Step 4) Done with resizing, your next step is to reshape the tatto like the body part using the warp feature (right click while you’re still in free transform mode)

Step 5) Now change the layer mode of the tatto design layer to multiply and play around with the opacity for the desired look. Mine is 54%

You’re done!

Popularity: 18%


No comments:
Post a Comment